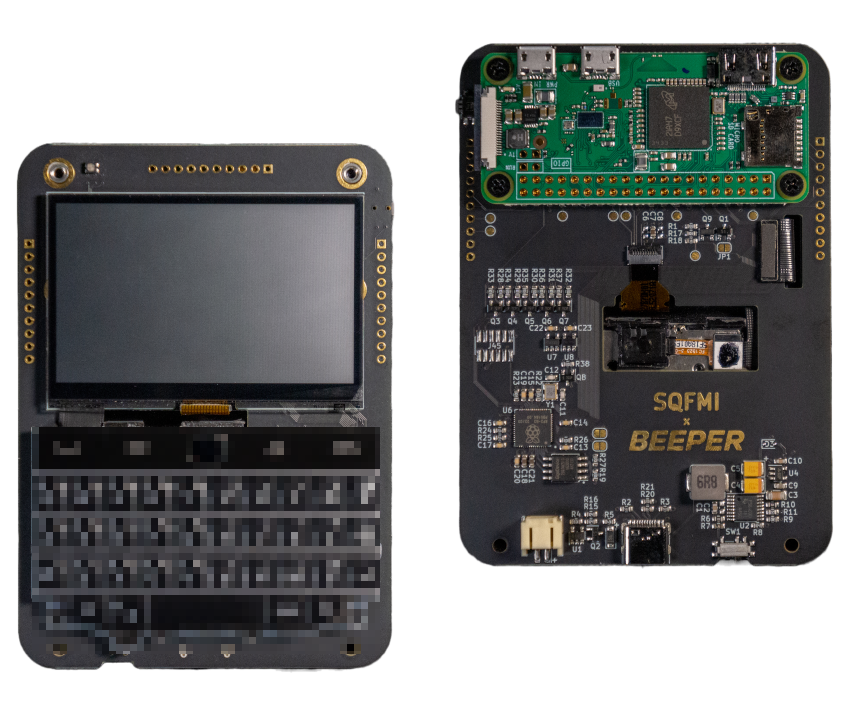

Received your Beepy? We hope you’re as excited as we are! Let’s get you up and running with Beeper as quickly as possible.
We’ve customized gomuks (a CLI Matrix client) and created a branch designed specifically for the Beepy screen and keyboard setup.
GitHub - tulir/gomuks at beepberry
For this section, you’ll need an additional device. A laptop running some form of Unix (Linux, macOS, WSL, etc.) should do! This is necessary because the initial sign-in process to gomuks takes a lot of CPU/RAM resources, which would take forever on a Raspberry Pi. By signing in first on desktop and then transferring to Beepy, it’s much faster. Follow the steps below:
gomuks binary to your desktop/laptop. You may need to chmod +x gomuks
Gear > Settings > Security & Privacy and scroll down to the Cryptography heading. Then click button Export E2E room keys.keys.txt in the same folder as the gomuks binary. Remember your password!libolmwith brew install libolmgomuks binary with the --log-in-for-transfer flag in your shell:
./gomuks --log-in-for-transfer<aside>
⚠️ Note: Additional permissions may be required on macOS. Please make sure to allow both gomuks and libolm (encryption library) to run on your machine.
If you are having any issues running gomuks, please consult these instructions: https://docs.mau.fi/gomuks/installation.html
</aside>
Username format is @username:beeper.com where username is your Beeper ID

If you have not set up a password for your Beeper account, contact Beeper Help or use this helpful 3rd party script to set a password: https://github.com/0xdevalias/poc-beeper-password-reset
You should now be looking at instructions on screen, and see a new folder named transfer. If you made it this far, you’re doing great!
🌐 This new transfer folder needs to be copied over to your Beepy. For more on getting your shiny Beepy up-and-running, follow this setup instruction. Once you’re ready to go on that front, copy the folder over with a utility like scp or rsync (for more on file transfer with Linux, see here).
🌳 Now SSH into your Beepy and set the GOMUKS_ROOT environment variable to match the new location of the transfer directory.
cd into the directory and then run pwd.~/.profile along the lines of the following:export GOMUKS_ROOT="<path-to-transfer-directory>"
🐭 Next, you’re going to have to edit your gomuks config file located at transfer/config/config.yaml. You’re going to need to tweak a few values to match the new location of transfer on the Beepy (as opposed to your laptop). Specifically:
data_dircache_dirhistory_pathroom_list_pathmedia_dirstate_dirAn example of the change could look like the following:
data_dir: /Users/cool-beepy-user-123/Documents/transfer/config

#=>

data_dir: /home/cool-beepy-user-123/transfer/config
All of the new values should start with the same path, to the transfer folder on your Beepy.
For more on this change, take a look at the gomuks docs.
<aside>
💡 Optionally, you may want to tweak the download_dir value to match a good new folder on your Beepy as well.
</aside>